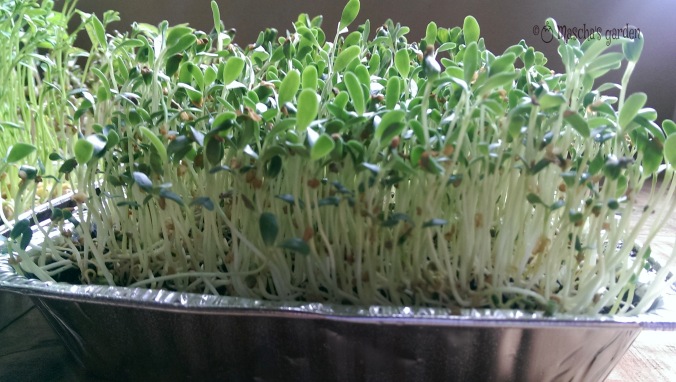
While doing some research in my local library for an article on growing your own sprouts, I happened to stumble upon a book by Peter Burke with the title ‘Year-round indoor salad gardening’. The book describes Burke’s technique for growing, as the title suggests, year-round salad leaves on your kitchen bench, in a simple and easy way, without the need for any specialised equipment. I immediately thought that this technique is a great solution for people who want to have the benefits of eating nutritious home-grown salads, but either don’t have space for a vegetable garden, don’t have the time to tend a vegetable garden or have physical limitations due to health issues. So before writing about Burke’s technique and putting my article on sprouting seeds on the back burner, the scientist in me thought it best to try it for myself first, just to check it really was that easy. Here’s how it went…
Burke’s technique combines part sprouting in jars and part soil sprouting, to produce edible salad leaves in the form of microgreens. Microgreens are vegetables or herbs that are eaten at a seedling stage, at which point they taste like the mature vegetable but contain a much higher concentration of nutrients. Using conventional methods to produce microgreens can take 2-4 weeks but by using this technique you can harvest in only 7-10 days.
The equipment that you will need for this indoor salad garden includes; glass jars, organic seeds, aluminium foil trays (about 15cmx22cmx5cm in size), newspaper or paper towel, a small strainer, water in a small spray bottle, seed raising mix and a little compost, worm castings or some organic fertiliser.

Step 1 Soak the seeds in a jar of warm water for 6 hours (or overnight). You can use any organic vegetable or herb seed which has edible leaves, but seeds in the Brassica family (kale, broccoli, cabbage, canola, kohlrabi) are particularly nutritious and beetroot, red amaranth, buckwheat and purple basil add great colour to your salad. I used adzuki beans, snow peas, mung beans, fenugreek and lentils for my experiment as I already had these seeds available. For the smaller seeds you need to soak about a heaped tablespoon per tray and for the larger seeds, such as the peas, you need about 80 seeds.

Step 2 Using one foil tray per seed variety, add a 1 cm layer of seed raising mix, with a couple of tablespoons of compost/worm casting or a small sprinkle of organic fertiliser spread over the top. Fill the rest of the trays with more seed raising mix until they are filled about 1/2 cm from the top of the tray. Level the mix but don’t pat it down. If your mix feels dry, squirt it with some water from a spray bottle (your mix should be moist but not wet as there are no drainage holes in your tray).
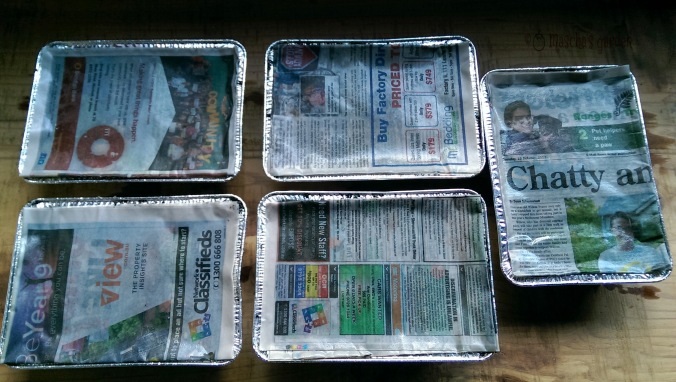
Step 3 Fold a sheet of newspaper or paper towel to fit the top of your tray (a few layers thick) and soak the folded paper in a shallow tray of warm water. In the meantime strain the water off the seeds by pouring them into a small strainer and rinse them with some fresh water. Spread the seeds evenly on top of the seed raising mix, then cover with the folded newspaper/paper towel and gently press the paper down to ensure that the seeds underneath make good contact with the soil.
Step 4 Place the trays in a warm (18-21ºC), dark cupboard for 4 days, keeping the newspapers wet if they dry by squirting with some water. The sprouts should be 2-3cm high and have pushed the newspaper up by the end of this time. If temperatures were a bit too cold this step may take an extra day or two. I found this to be the case with the larger seeds of my snow peas, mung beans and adzuki beans which I left in the cupboard for an extra day.
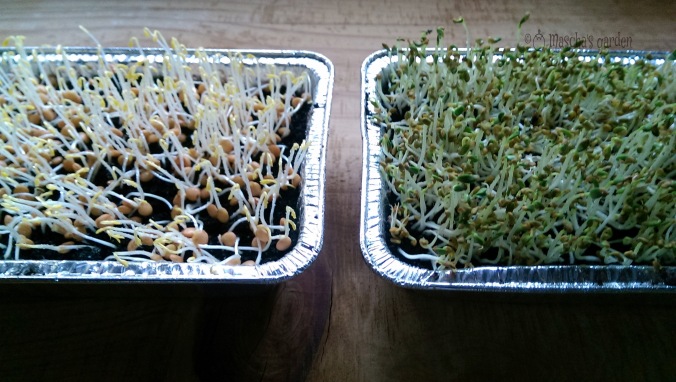
Step 5 You now need to green your sprouts by taking off the newspaper covers and placing the trays on a sunny bench near a window, they don’t need direct sunlight. I placed mine on a workbench in my garden shed which is under a north facing window, but a kitchen bench would work well too and you don’t necessarily need a window that faces north. Over the next three days water the soil in the trays everyday with about 2-4 tablespoons of water and rotate the trays each day so that the sprouts grow straight and not towards the light.
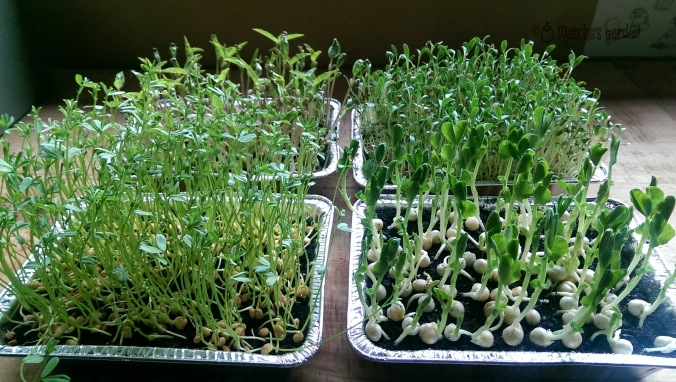
Step 6 After only 7-10 days from when you first soaked your seeds, your salad is ready to harvest. It really is that quick and easy! To harvest simply cut your greens about half a centimetre above the soil level with a pair of scissors. Give them a very gentle rinse under some cold water to remove any soil particles and seed husks and they are ready to eat.

You may want to grate some carrot or beetroot through your sprouts, or add a handful of chickpeas or finely chopped tomatoes. Your sprouts are also great as a garnish on top of a lentil Dahl or in rice paper rolls. If you sow a new couple of trays every few days you could have a continuous supply of sprouted salad greens.
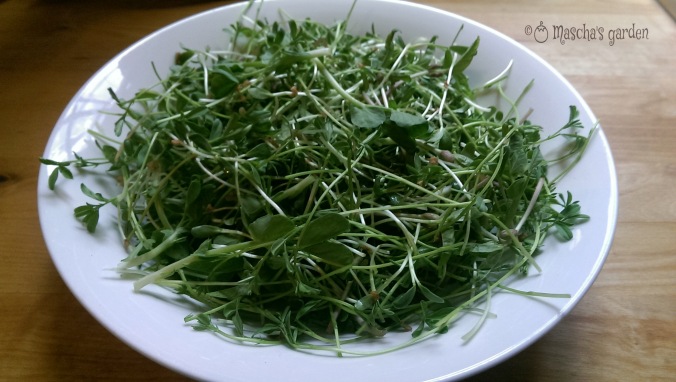
This indoor salad only took 8 days to grow!
Enjoy!

Excellent idea. In the winter we also grow lots of seeds to eat. It is simple and tastey- no wasted food miles !!😀🦋
LikeLiked by 1 person
Hi Mascha
I am going to have a go at this. Do you put the remaining soil and seed in the compost and start afresh with new beans?
Eva
LikeLiked by 1 person
Hi Eva, yes I compost the remains. Also if you stagger the sowing you’ll always have something to harvest. Happy growing!
LikeLike